

Evening.
Thought i'd share with you my latest project.....
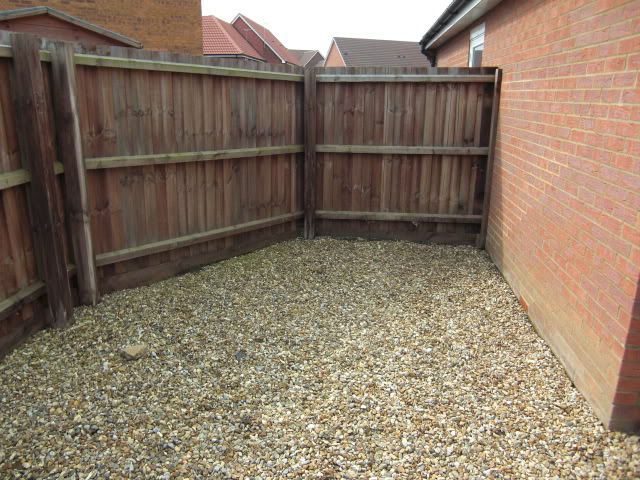
When i moved into my house the garden was just stones. (Well most of it still is until i get it sorted) Stones everywhere! At the end of the garden to the right behind the garage is a bit of space where i've been storing my bike trailer, however its now found a new use.
So it started like this:
![Image]()
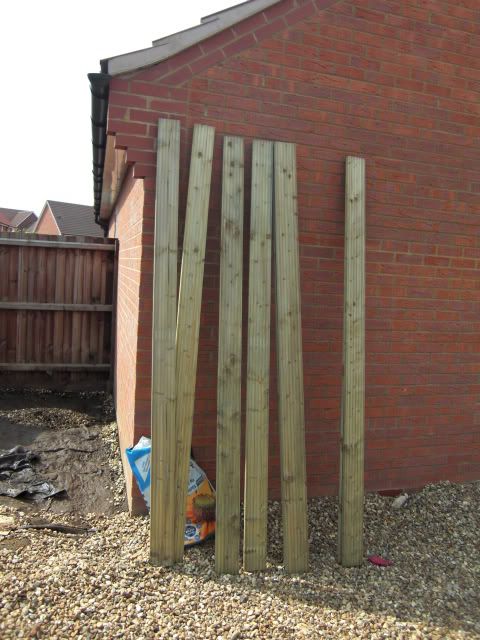
So off i pop to B&Q... and after 2 trips i come out with:
- 21 Decking boards
- A new electric drill (Man i love tools!)
- A saw
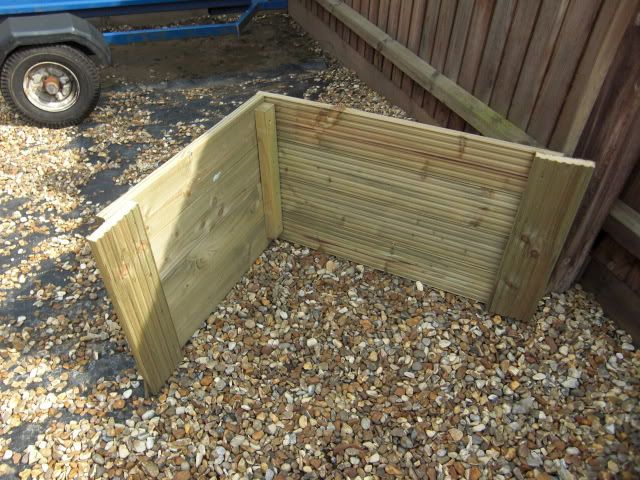
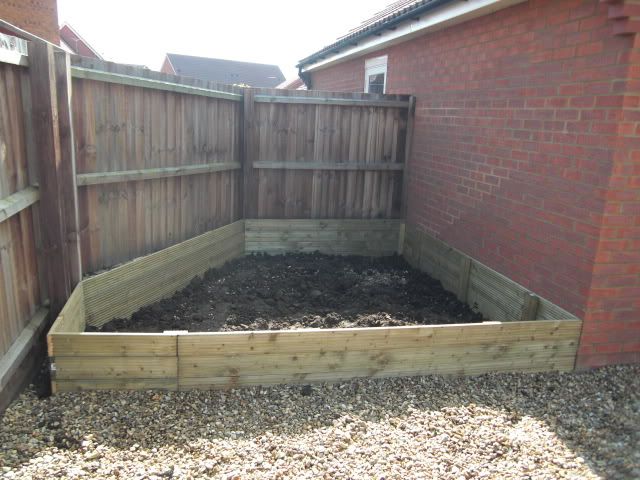
So i set to work sawing and drilling and screwing and get this:
![Image]()
![Image]()
![Image]()
Its 4 decking boards high with the plan of digging 1 board into the ground and having the other 3 on show.
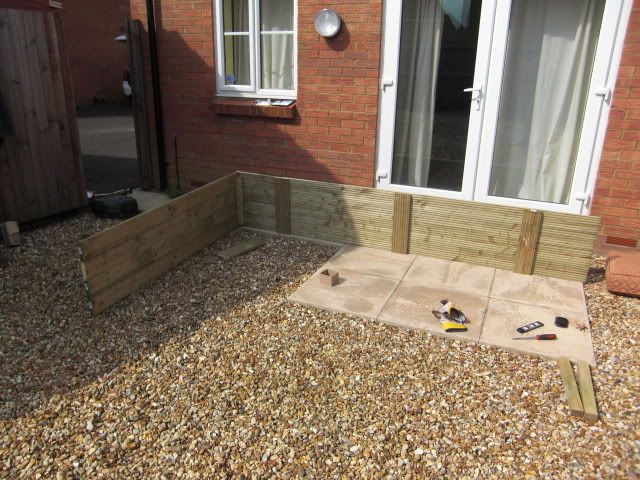
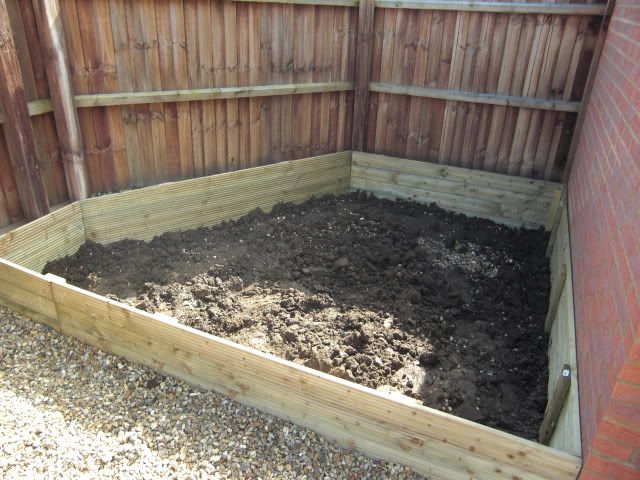
Ran out of time at this point. Didn't get to work on it for a few days but then got a couple of hours and managed to complete the sides and dig it in:
![Image]()
![Image]()
![Image]()
Ran out of time again and had to go to work, but before i finished i put up a bird house:
![Image]()
lol
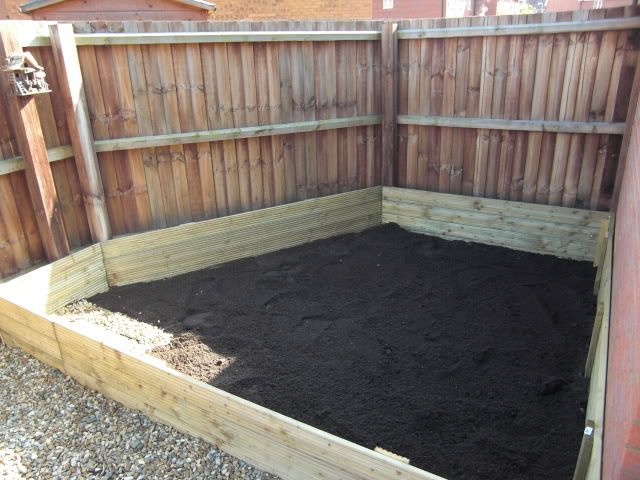
Next day i got another couple of hours to work on it before work again. Made a trip to B&Q and bought:
- 10 top soil bags (250l)
- Bamboo border
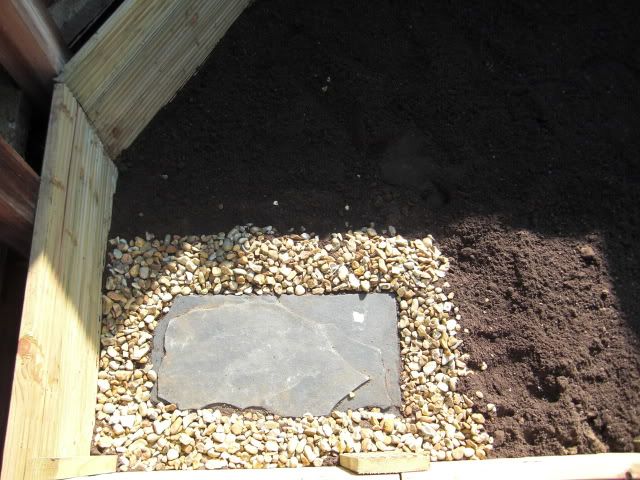
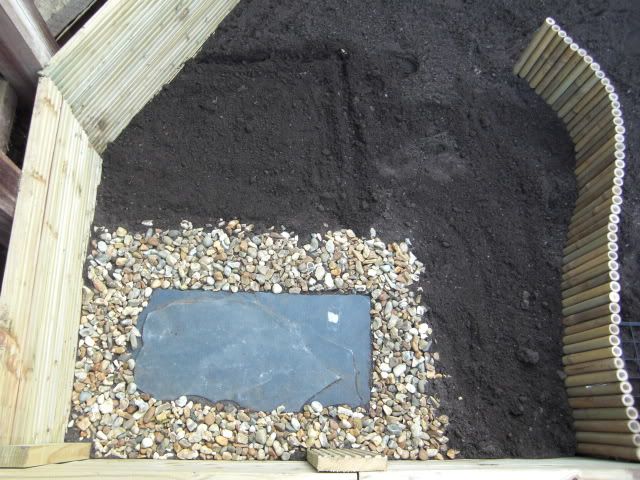
- Black stone like slate stuff
Top soil went in, as did the stone with little stones round the outside:
![Image]()
![Image]()
![Image]()
As their main diet is weeds i planted 2 batches containing:
- Chicory
- Crimson Clover
- Dandelion Seeds
- Grass Seed Mix
- Milk Thistle
- Plantain
- Sainfoin
- Vetch
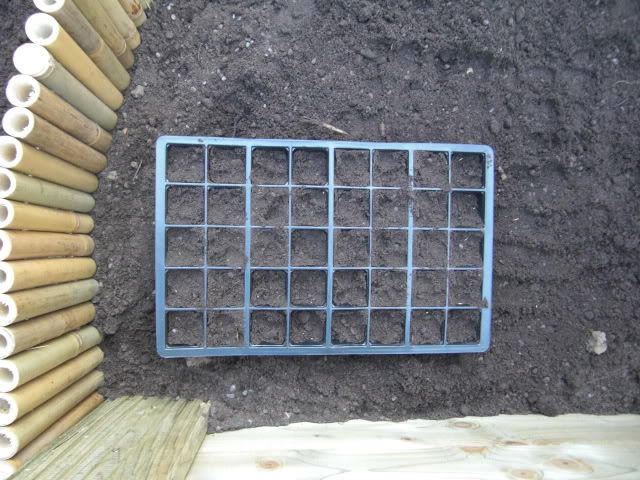
First batch are in seed trays so they can't be gotten to and will keep in there till they are fully grown:
![Image]()
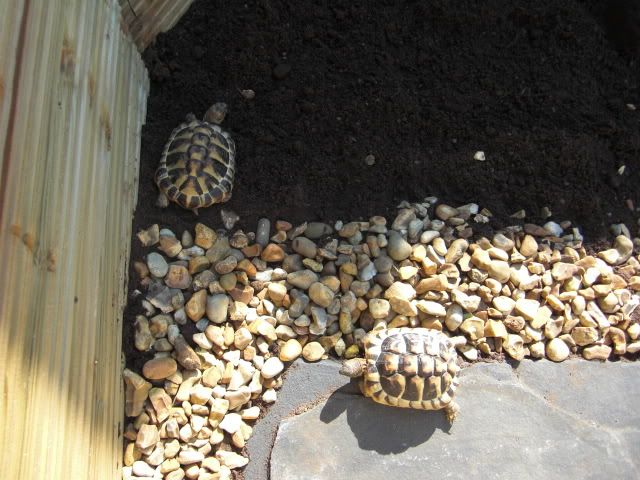
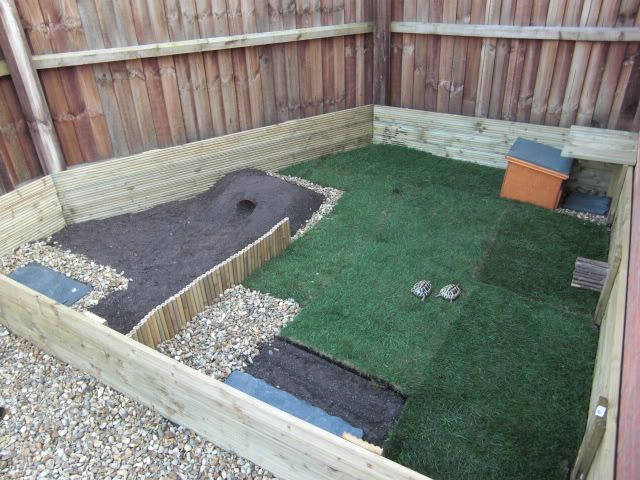
Second batch are actually in the enclosure (marked in the lines). These will be cornered off so they can't be eaten until they are a decent size and can re-grow without problems:
![Image]()
Thought i'd share with you my latest project.....
When i moved into my house the garden was just stones. (Well most of it still is until i get it sorted) Stones everywhere! At the end of the garden to the right behind the garage is a bit of space where i've been storing my bike trailer, however its now found a new use.
So it started like this:
So off i pop to B&Q... and after 2 trips i come out with:
- 21 Decking boards
- A new electric drill (Man i love tools!)
- A saw
So i set to work sawing and drilling and screwing and get this:
Its 4 decking boards high with the plan of digging 1 board into the ground and having the other 3 on show.
Ran out of time at this point. Didn't get to work on it for a few days but then got a couple of hours and managed to complete the sides and dig it in:

Ran out of time again and had to go to work, but before i finished i put up a bird house:
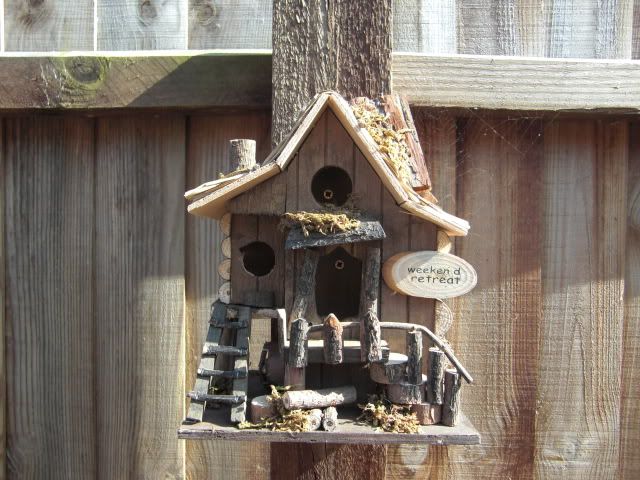
lol
Next day i got another couple of hours to work on it before work again. Made a trip to B&Q and bought:
- 10 top soil bags (250l)
- Bamboo border
- Black stone like slate stuff
Top soil went in, as did the stone with little stones round the outside:
As their main diet is weeds i planted 2 batches containing:
- Chicory
- Crimson Clover
- Dandelion Seeds
- Grass Seed Mix
- Milk Thistle
- Plantain
- Sainfoin
- Vetch
First batch are in seed trays so they can't be gotten to and will keep in there till they are fully grown:
Second batch are actually in the enclosure (marked in the lines). These will be cornered off so they can't be eaten until they are a decent size and can re-grow without problems:


 :
:


